
Latest PCB Industry News in Asia and Malaysia (2026 Update)
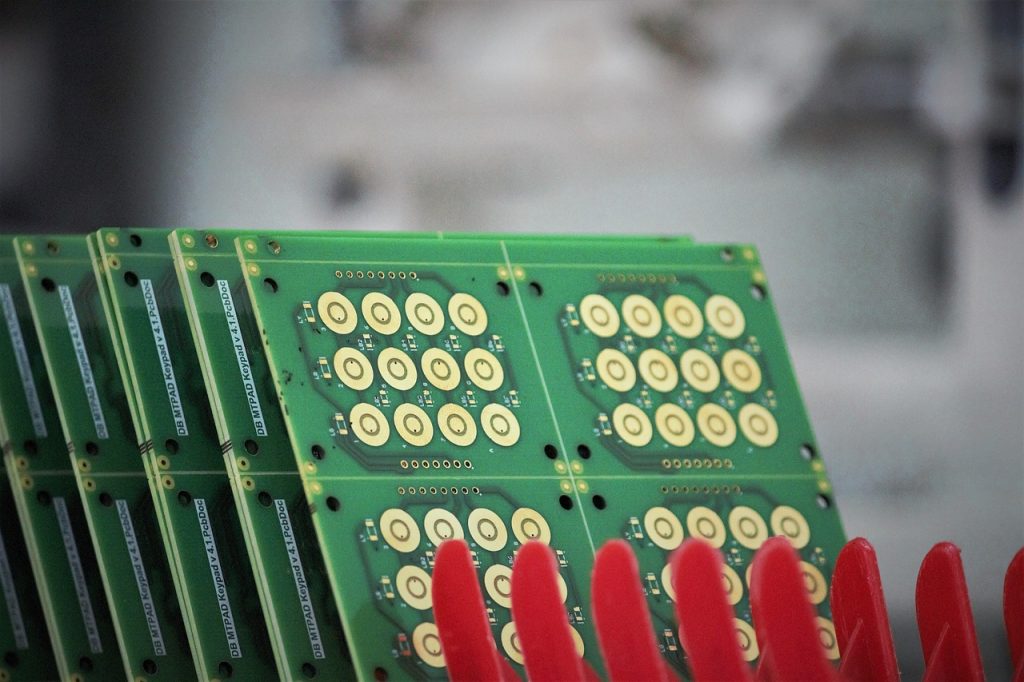
The printed circuit board (PCB) industry in Asia continues to show strong momentum in 2025–2026, driven by rapid growth in electronics manufacturing, electric vehicles (EVs), data centers, and AI-related hardware. Asia remains the global backbone of PCB production, with Southeast Asia — especially Malaysia — playing an increasingly important role.
Asia Remains the Global PCB Powerhouse
China, Taiwan, South Korea, and Japan continue to dominate high-volume and high-technology PCB manufacturing. Demand for HDI PCBs, multilayer boards, and advanced packaging substrates has increased significantly due to:
- AI servers and cloud data centers
- Automotive electronics and EV power modules
- 5G and industrial automation
At the same time, many global electronics companies are diversifying their supply chains away from single-country dependence. This shift has accelerated investment into Southeast Asia, including Malaysia, Thailand, and Vietnam.
Malaysia’s Growing Role in the PCB Supply Chain
Malaysia is strengthening its position as a key electronics manufacturing hub in Asia. The country benefits from:
- A mature E&E (Electrical & Electronics) ecosystem
- Strong presence of multinational semiconductor and EMS companies
- Skilled engineering workforce and stable infrastructure
In recent years, Malaysia has seen increased activity in:
- Industrial and automotive PCBs
- Power electronics boards for inverters, chargers, and motor control
- High-reliability PCB assembly and repair services
Penang, Selangor, and Johor continue to attract PCB-related investments, supporting both high-mix, low-volume and mass production manufacturing.
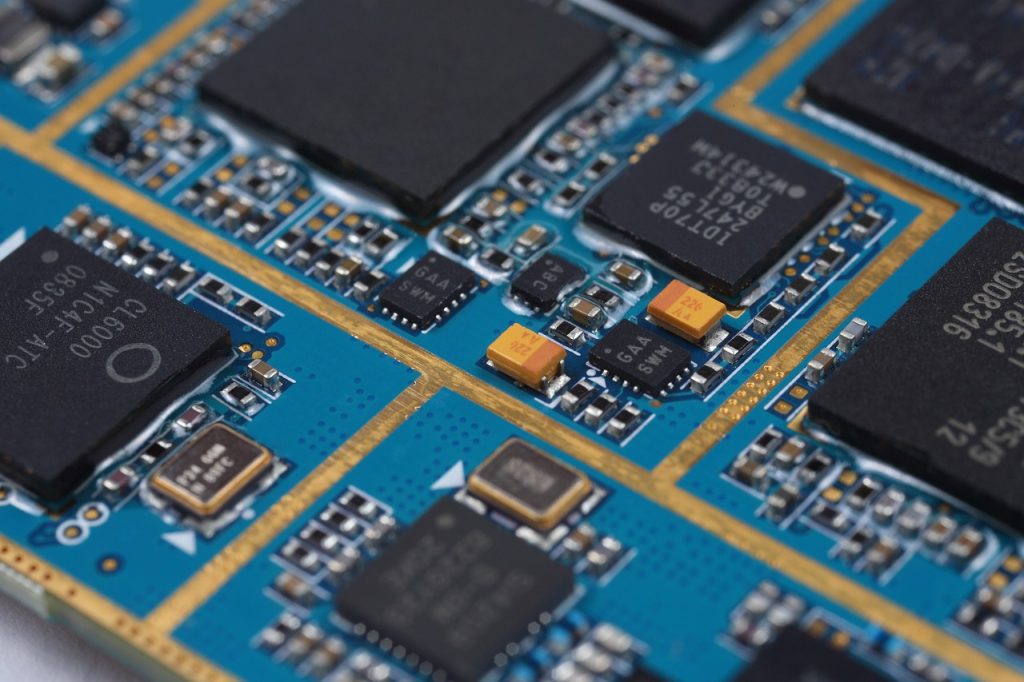
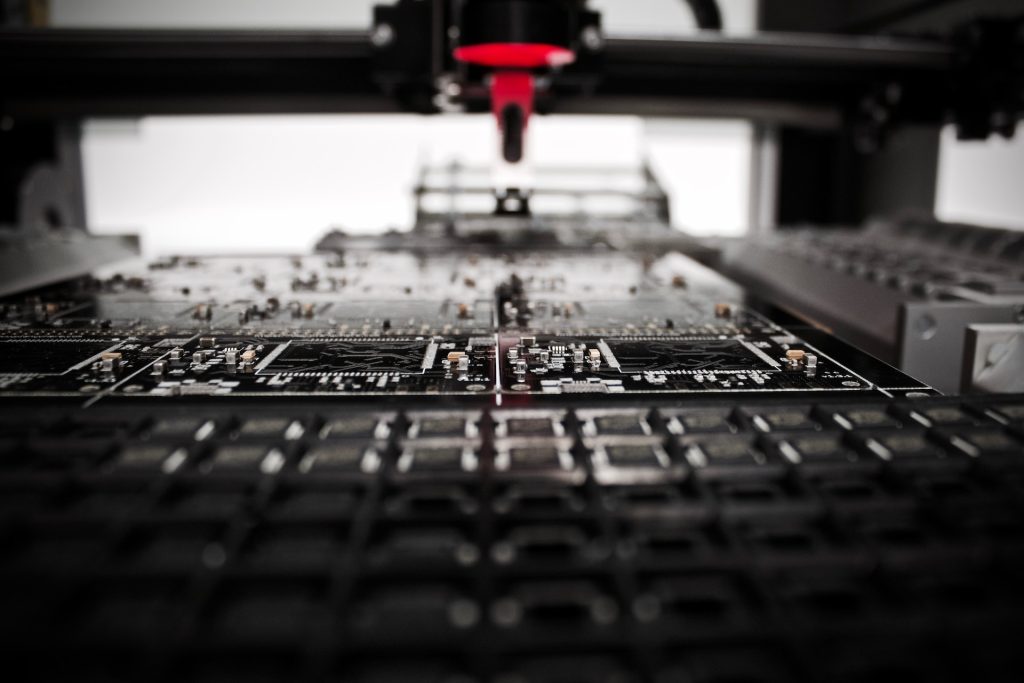
Technology Trends Impacting Asian PCB Manufacturers
Several key technology trends are shaping the PCB landscape in Asia:
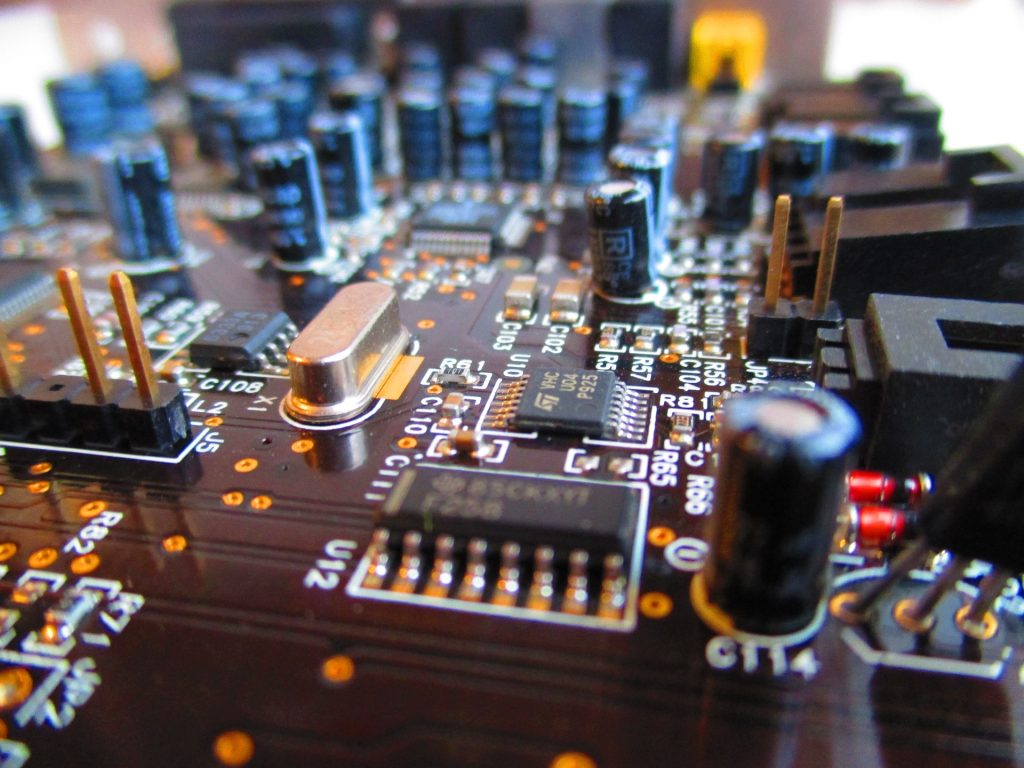
- Power electronics PCBs: Growing demand for thick copper, high-current designs used in EVs, solar inverters, and industrial power supplies.
- Advanced materials: Increased use of high-TG, low-loss, and thermally conductive substrates.
- Miniaturization: Continued adoption of HDI designs, fine-pitch components, and compact layouts.
- Socket and modular designs: More customers are requesting socket-based solutions for power devices (e.g. TO-247 packages) to allow easier replacement and testing.
Challenges and Opportunities
While demand is strong, PCB manufacturers in Asia also face challenges such as:
- Rising material and labor costs
- Tighter quality and reliability requirements
- Longer lead times for certain components
However, these challenges also create opportunities for specialized PCB services, including:
- PCB design optimization
- Engineering support and troubleshooting
- PCB repair, modification, and prototyping
Companies that can provide technical support, flexibility, and fast response times are well positioned to stand out in the market.
Outlook for 2026
Looking ahead, the PCB industry in Asia — particularly in Malaysia — is expected to remain resilient and competitive. Growth will continue to be driven by automotive electronics, renewable energy systems, AI infrastructure, and industrial automation.
For local PCB service providers and manufacturers, the focus in 2026 will be on quality, reliability, and value-added engineering services, rather than price alone.
Latest PCB Industry News in Asia and Malaysia (2026 Update) Read More »