
Printed circuit boards (PCBs) are essential components of modern electronics, and the process of assembling PCBs is a critical step in the manufacturing process. PCB assembly involves several stages, including preparation, component placement, soldering, and inspection. In this blog, we will explore the different stages of PCB assembly and provide tips and best practices for each step.
Step 1: Preparation
The first step in PCB assembly is to prepare the PCB and components for assembly. This involves inspecting the PCB for any defects, such as scratches or damage to the solder mask. The components should also be checked for any defects or damage. Once the PCB and components are inspected, they can be prepared for assembly by cleaning and organizing them.
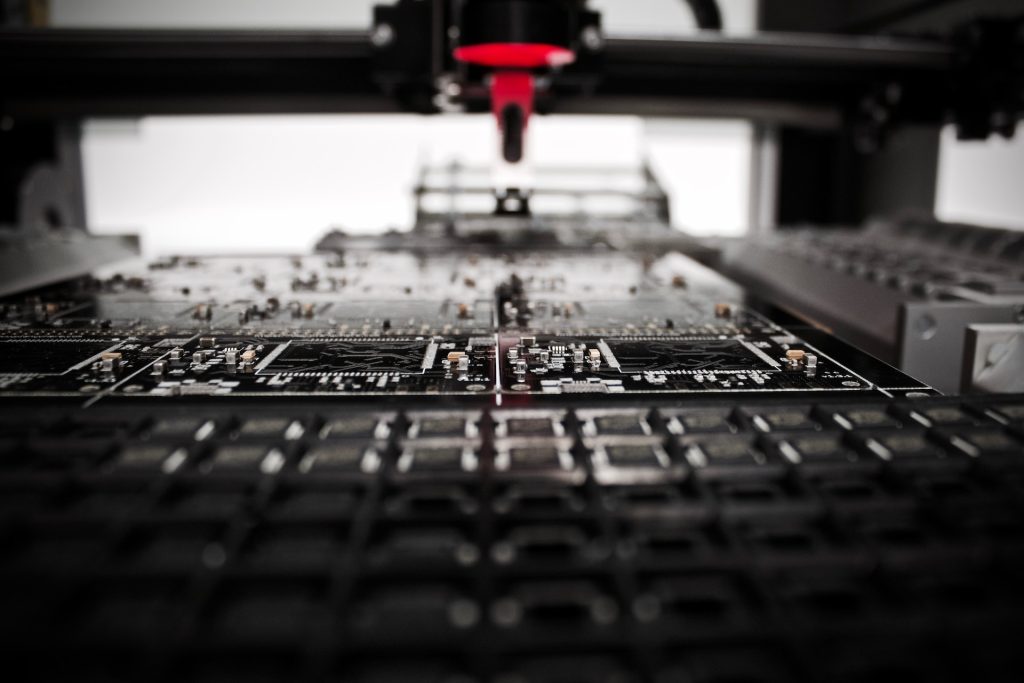
Step 2: Component Placement
The next step is to place the components on the PCB. This can be done by hand or with automated equipment, depending on the complexity of the PCB and the number of components. It’s important to place the components accurately and securely to ensure that they are in the correct position for soldering.
Step 3: Soldering
Soldering is the process of attaching the components to the PCB using solder. There are two main methods of soldering: through-hole and surface mount. Through-hole soldering involves inserting components into pre-drilled holes in the PCB and soldering them in place. Surface mount soldering involves attaching components to the surface of the PCB using solder paste and a reflow oven. Both methods require a high degree of precision and accuracy to ensure that the components are securely attached, and the solder joints are of high quality.
Step 4: Inspection
Inspection is a critical part of PCB assembly, and it involves checking the quality of the solder joints and the overall integrity of the PCB. This can be done using visual inspection or automated inspection equipment. Any defects or issues should be addressed and corrected before moving on to the next step.
Step 5: Testing
Once the PCB is assembled, it should be tested to ensure that it is functioning correctly. This involves electrical testing to check for shorts and opens and other tests to ensure that the PCB is functioning as intended. Testing can be done manually or using automated equipment.
PCB assembly is a complex process that requires specialized skills and equipment. It involves several stages, including preparation, component placement, soldering, inspection, and testing. By following best practices and using high-quality materials and equipment, it’s possible to create high-quality PCB assemblies that meet the required specifications and standards. Whether you’re a hobbyist or a professional, understanding the PCB assembly process is essential for working with electronics and creating innovative new products.